
TSA can be a daunting ordeal. So I’m here to tell you it’s going to be OKAY. ![]() Here are some things you might want to prepare for when going through TSA with your kids. I recently went to California alone with an 8-month-old and editing together a vlog of my journey. Click HERE for that blog.
Here are some things you might want to prepare for when going through TSA with your kids. I recently went to California alone with an 8-month-old and editing together a vlog of my journey. Click HERE for that blog.
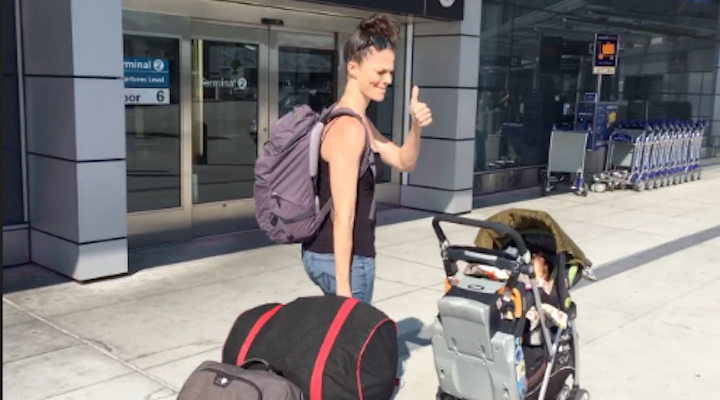
1. Pack Right – Bring what you will need for the flight, an extra change of clothes / overnight toiletries (in case your bag gets lost) and the car seat and stroller. They are FREE to check-in but personally I always feel more comfortable when I know they are either going on board with me (in the case of a 2-year-old +) or gate checked and will be waiting for me when I disembark. Pack everything that you will need to remove from your carry-ons ON TOP. This way you can easily access them when you are separating things into the bins. Here is my PACKING LIST blog for traveling with an infant – it’s a good place to start when you are putting together your own list.
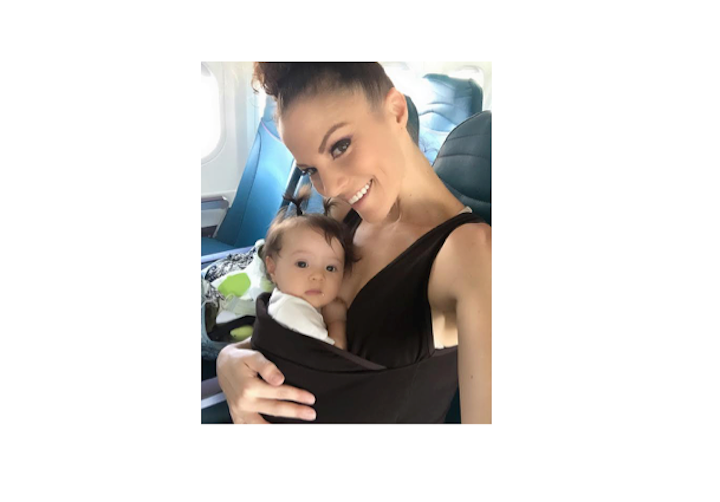
2. Baby Carrier – Having baby in a carrier is key when traveling (especially if you’re alone)… you’ll need your hands free to break down the stroller, car seat, take your computer and liquids out, etc… The TSA website says to take baby out of the carrier when you go through the screening but I’ve never been asked to take baby out. Sometimes, if check-in or the security line are especially long – I’ll just put baby in the carrier from the start so that baby can get a nap in undisturbed. Once you go through the metal detector or body scan they will take you aside to swipe your hands and test them for whatever it is they are testing for. LOL
3. Know The Rules – Children under the age of 12 don’t need to take their shoes, jackets or headwear off when they go through the screening. Adults do – take all of that off, put your shoes directly onto the moving mat and remove any bulky jewelry that might ring. There’s nothing more irritating then getting sent back through the detector! Don’t forget to remove your cell phone from your pocket.
When it comes to liquids this is what the TSA website says… Formula, breast milk and juice in quantities greater than 3.4 ounces are allowed in carry-on baggage and do not need to fit within a quart-sized bag. Separate formula, breast milk and juice from other liquids, gels and aerosols limited to 3.4 ounces.
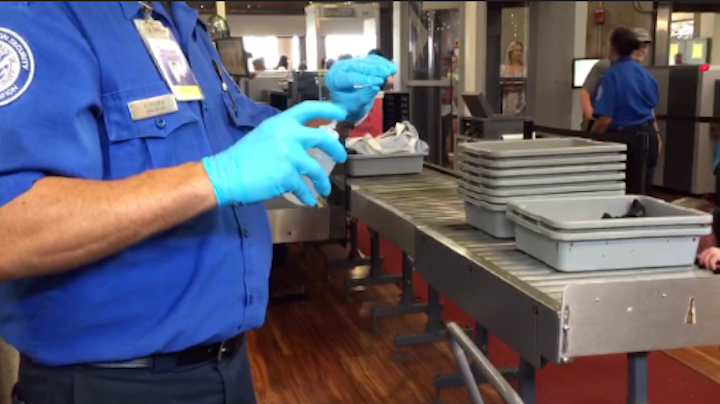
Ice packs, freezer packs, frozen gel packs and other accessories required to cool formula, breast milk and juice are allowed in carry-on. If these accesories are partially frozen or slushy, they are subject to the same screening as described above. You may also bring gel or liquid-filled teethers, canned, jarred and processed baby food in carry-on baggage. These items may be subject to additional screening. Liquid medicine can also go through TSA even if it’s bigger than the 3.4 ounce rule. **Just a note: If you do not want your breastmilk or other liquids to go through the scanner, you can request for them to do a hand check. When I was pregnant I always asked them to pat me down. It takes longer but if that’s something you’re worried about, it’s an option.**
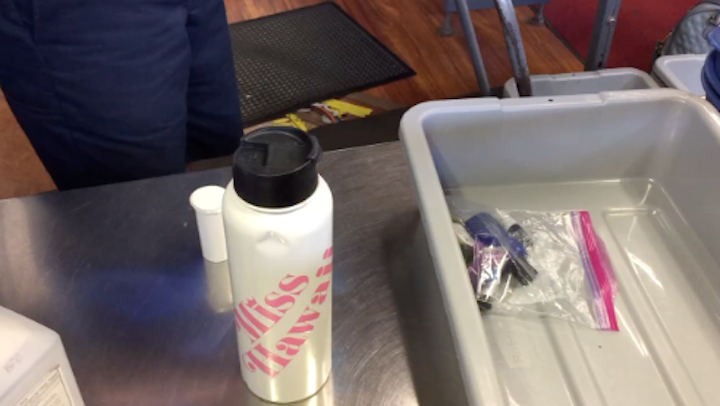
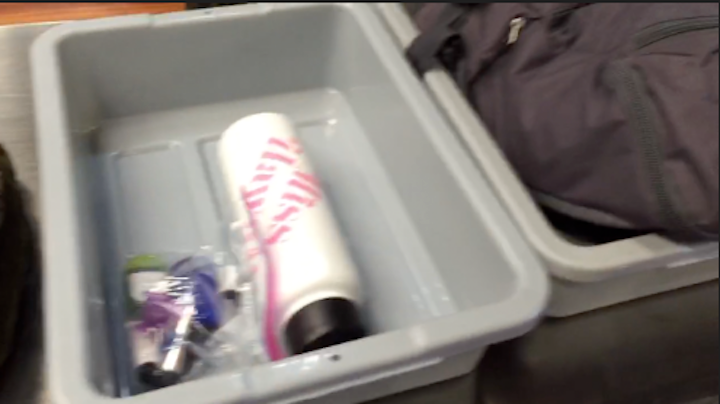
4. TSA Life Hacks – Flank the kids. One parent goes first, then the child(ren), then the other parent. You don’t want to lose a kid. Have any young children that can walk on their own, hold hands. Bring your giant hydroflask with water. You can say that “it’s for formula” and they will let you through with it. Once your child turns 2, they can ask you to dump the water out, but until then – take advantage! Water is always useful to have right there at your feet throughout a long flight. Whether you need to quickly clean something up, make formula or just hydrate. Personally, I don’t like how water from the water fountain tastes, so I always bring my own. Put your hydroflask in the same bin as the baby food and other items that will have to be hand-checked or tested by TSA. Don’t put your quart sized baggie in there – or it will be held hostage while they go through the checking process of your “special” items.
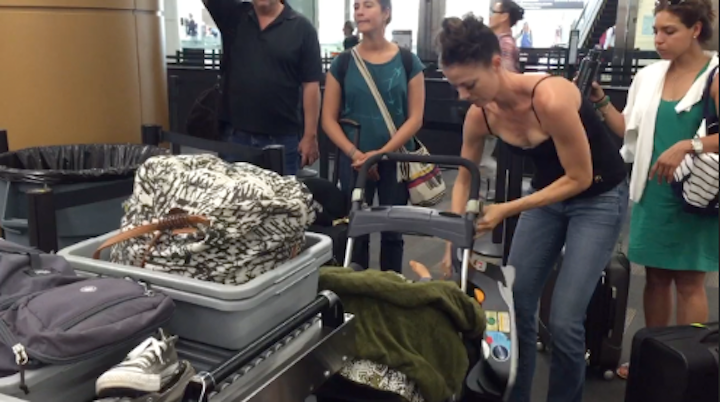
5. Know What Order to Put Your Things Through The Scanner - Put your liquids through FIRST (that way TSA has a chance to see it there on the side to be tested – it might save you a little time). Then, your stroller (you’ll have to unload it first, but then bring the stroller to the front of your train of bins and put it in near the front). Depending on what stroller you have, you may have to take the wheels off if it doesn’t fit through the scanner – or you can ask them to bring it around (but they will have to do additional screenings if so). Then, your bags. Then, all of the stuff you had to remove – shoes / jacket / jewelry, computer (you do not need to remove iPads or iPhones from your bag), etc… and last, your car seat (since baby will be hanging out in the car seat on the floor waiting for you to schlep all of the stuff). Place the car seat face down so that it fits through the scanner. If your things haven’t yet gone through the scanner, it’s helpful to put your car seat on the belt near the front as well. That way, on the other end, you can strap baby in while you reorganize your life. LOL (If baby is sleeping in your carrier, lucky you!) When you get through the metal detector you can pop open your stroller and place your bags in it. Then put all of the little stuff back into the bag it came out of. Meanwhile, TSA will be testing your liquids. By the time your shoes and the car seat come out, you should be ready to go!

Sunday, April 2nd 2017 at 11:39 pm
Where did you get your baby wearing shirt ?
Friday, September 8th 2017 at 9:59 am
Here’s a direct link! I LOVE it! Would recommend to anyone
http://amzn.to/2xjuJRK