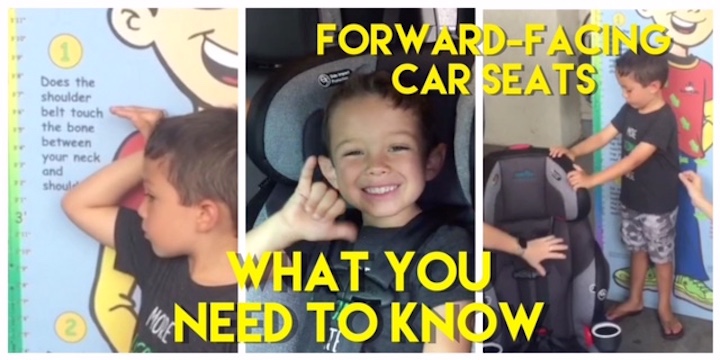
Forward-Facing Car Seats: Overview of What You Need to Know
Forward-facing seats can ONLY be secured in the forward-facing position. Some forward-facing seats can be converted into booster seats depending on the brand.
When is my child ready for a forward-facing only seat?
They should stay rear-facing until at least the age of 2 and then outgrow it by weight and height. There’s no law on that but for safety reasons we want to make sure that they are bigger and able to withstand the crash forces in a forward-facing position. When we start taking away the harness, we decrease the safety a bit too. It’s best to keep them in the harness system as long as it’s within the height and weight limits of your car seat.
Forward-facing seats typically have lower anchors and a tether anchor… the LATCH system. LATCH stands for Lower Anchors & Tethers for Children. We want to use the tether anchor whenever we go forward-facing. (If you switch your convertible seat to forward-facing, for example, you will now want to secure your tether as a part of the installation) It prevents that head excursion or that forward movement of the car seat. It can make a difference between injury versus no injury in a crash.
Be careful about the lower anchors because when we go forward-facing we want to make sure that we can still use the lower anchors. According to vehicle regulations, those lower anchors are only allowed up to 65 pounds combined weight of the car seat and the child. Read the instructions on your car seat – for example, the one in the video says when the child is 50 pounds you no longer can use the lower anchors. We won’t be using the lower anchors but you still need to restrain the car seat so we will use the seatbelt. And of course, always use the tether anchor but read the instructions too to make sure you can still use it past the 65 lb weight limit. Most car seats do allow you to. With the tether anchor you need to read the instructions in your car to see where the tether anchors are in your car.
Installation of the Forward-Facing Car Seat
- Locate the tether anchors in your car by reading your vehicle instruction manual.
- Sometimes you need to remove the head rest so that the tether strap is long enough to reach the metal bar.
- When you lock the tether in place, make sure the hook goes towards the vehicle and not the other way around.
- Leave the tether loose for now — you will get back to that later.
- You can install the car seat using the lower anchor system (as long as it is within the height and weight limits of vehicle regulations) – Click HERE for a video on how to attach the seat using the lower anchors. It is pretty much the same for forward and rear-facing seats.
- To install the forward-facing car seat using the seat belt you will first locate the belt pathway for your car seat.
- Remove the padding / seat cover so that you can get through the belt pathway easier.
- Make sure you buckle into the right buckle for that seat position.
- Now tighten by using the seat belt system. First, pull the seat belt all the way out to the end until it’s locked.
- TIP: You can recline the seat back to allow more space and to make it a bit easier to tighten the seat up.
- Pull on the seat belt until the lap part of it is tight then pull on the shoulder strap until it is tight while also pushing the seat belt into the seat belt system of the car until it’s as tight as you can get it.
- Pull the seat back up to its upright position and the seat should be installed tightly.
- The last step is to tighten the tether so that there is no slack.
- Put the seat cushions back onto the seat and check to make sure the seat does not move from side to side or front to back more than an inch.
Securing Your Child in Their Forward-Facing Seat
- Buckle up with the chest clip down low at first.
- Tighten the straps until it is snug and you can’t pinch the strap any longer.
- Move the chest clip back up in line with the armpits.
- Harness straps need to be at or just above the shoulder
- Adjust the head restraint to put his head between them so that your child has side impact protection.
More Car Seat Blogs (Vlogs) — List will be updated as I complete each video in the series
Infant Car Seats: Proper Installation
Infant Car Seats: Attaching Your Infant Correctly
Rear-Facing Convertible Car Seats: Attaching Your Toddler Correctly
Rear-Facing Convertible Car Seats: Installing Them Properly