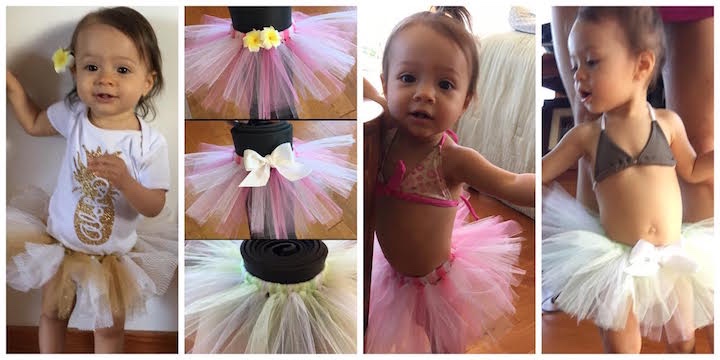
My baby turns one in a few days so I wanted to make her a couple of cute tutus to wear at her birthday party. One for the cake smash – that will get dirty – and one for her to wear the rest of the day. We are in Hawaii so the rest of her “OOTD” is a lei po’o made of fern and white orchids and a teeny tiny bikini. Sooooo cute, yeah? ![]()
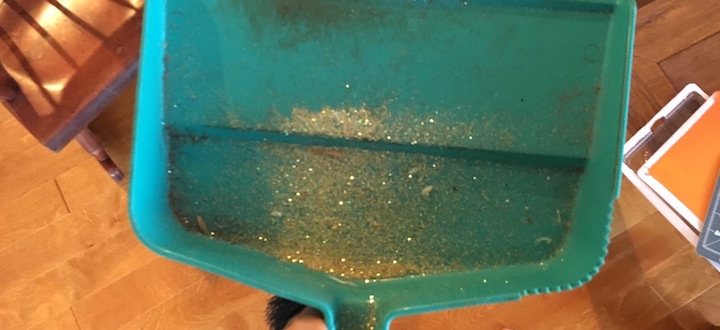
Today I made those tutus and did a little tutorial video for you to follow along. I’ll also write out the steps below. WORD OF CAUTION: The first time I made a tutu, I thought “ouuuuu, I want the glitter tulle!” (pronounced ‘tool’)… um, yeah. Never. Again. I’m STILL finding glitter from that tutu – and it was MONTHS ago. Plus, the glitter tulle is “tougher” and harder to thread through… it’s kind of bulky so you need a longer length to get the same effect you get with “regular” tulle.
Anyhoo, for my two tutus I made today, here is the list of things you’ll need.
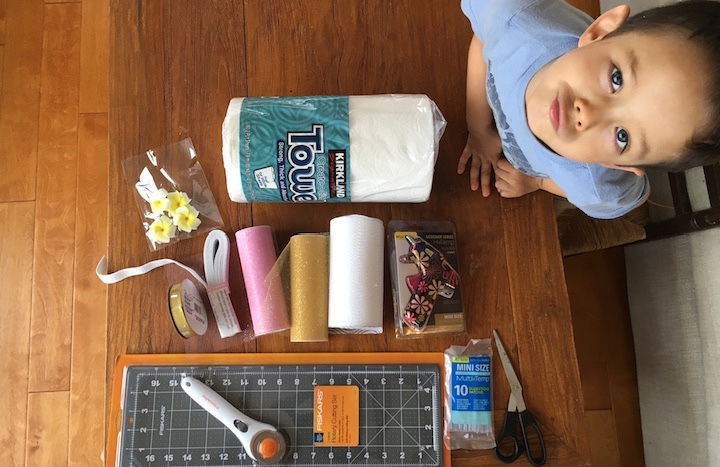
Materials
*Click on images or links to buy on Amazon*
- Tulle – pick your colors (Some places have pre-cut tulle) **For Waipuna (14.5″ waist) I used two or three rolls of different colors and did a 7 inch tutu length and had plenty of tulle leftover.**

- Rotary cutter (You can also use sewing scissors)

- Rotary cutting Mat (Optional but way easier to cut with this)

- NO ROLL elastic waist band 2/3 to 3/4 inch wide

- Something circular that is the size of your babies waist. Yoga mat, paper towel roll, big hydroflask…
- Glue gun

- Embellishments (Flowers, Ribbon, Gems, etc…)

Process
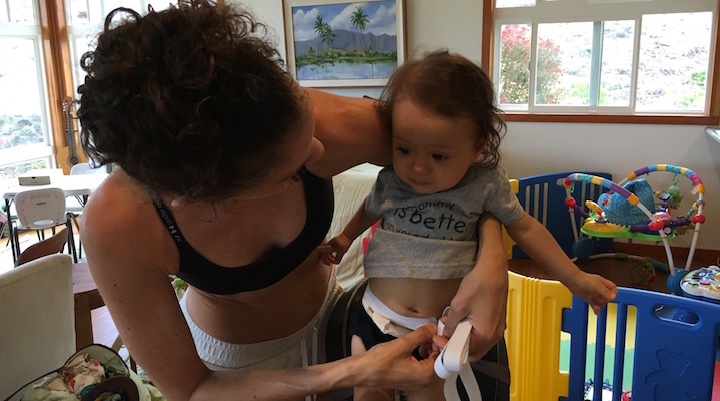
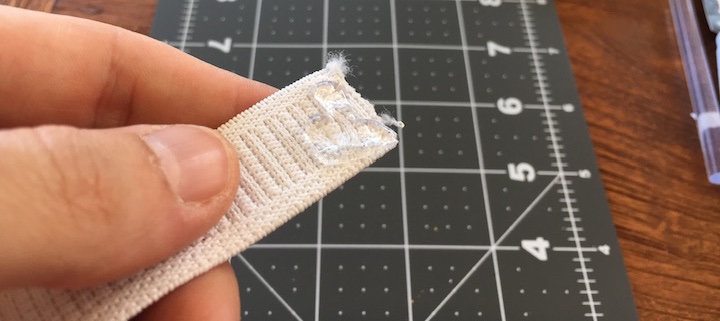
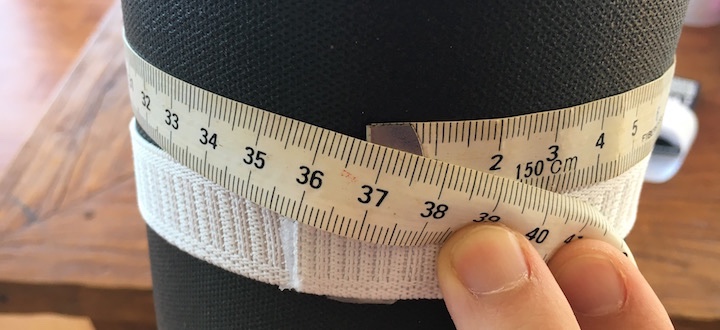
- Measure your baby / child’s waist. Subtract 4 inches from that measurement. This how long you will cut your elastic so that it does not fall off of your baby. Waipuna’s waist is 14.5 inches so I cut 10.5 inches of elastic and used my hot glue gun on one end then overlapped the other end over it by about a 1/2 inch to secure. Hold it for a few seconds until it dries and wait a few minutes before stretching it over your yoga mat, paper towel, etc… whatever you find that is about the same circumference as your baby’s waist. My yoga mat was 14.5 inches – perfect!

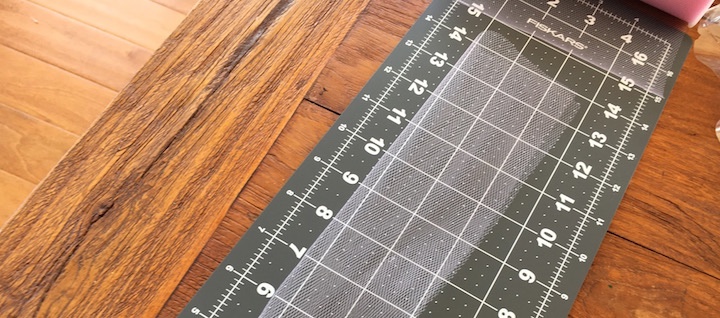
- The tutus I made were 7 inches long. Decide how long you want your tutu to be and cut the tulle double that length. I cut 14 inch pieces since Waipuna’s tutu was 7 inches long.

- Fold the tulle in half width-wise.
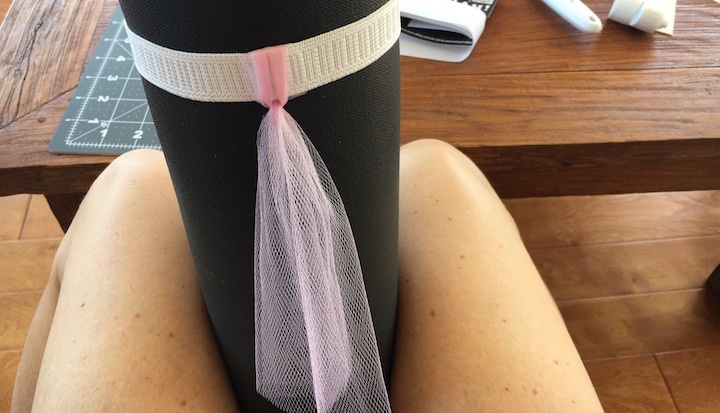
- Then fold in half length-wise creating a loop on one end and matching ends on the other. Put the center of the loop under the elastic.
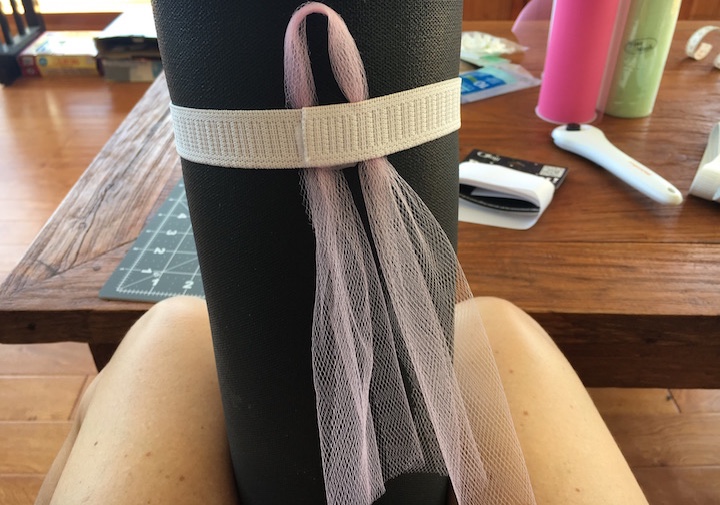
- Take the other end and pull it through the loop (on the outside of the elastic) and then pull it down to secure. You might have to jimmy it around a little to make sure the elastic is still lying flat and the tulle isn’t spread out too much.

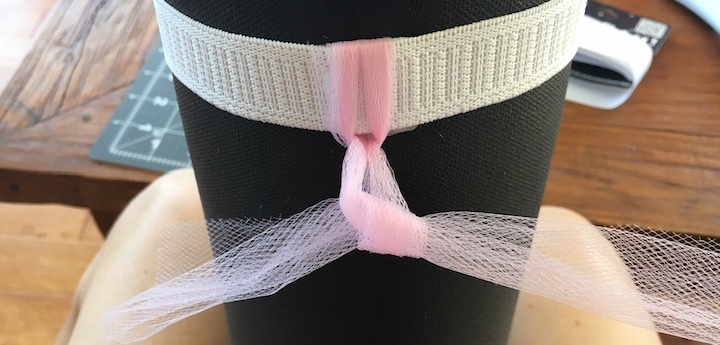
- Take the two loose ends of tulle and tie a knot near the elastic. Just one.

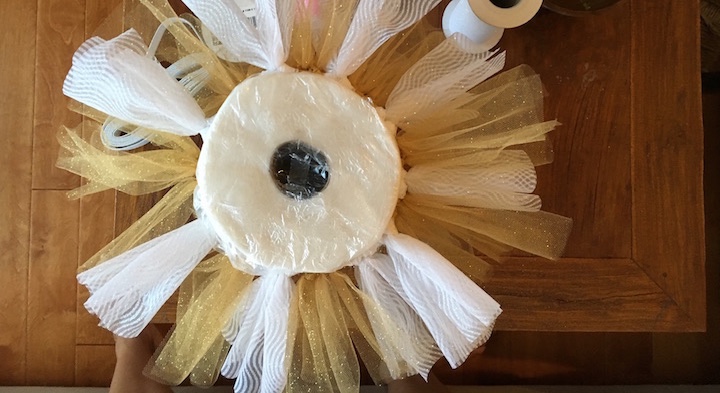
- Continue this process all the way around the elastic using whatever pattern you would like to. On the pink tutu, I went dark pink, light pink, white with the green tutu I went two greens, one white. With my glitter tulle, I alternated gold glitter, white glitter.


- After step 7, you can be done. My pink tutu is done! OR, you can continue and embellish it.
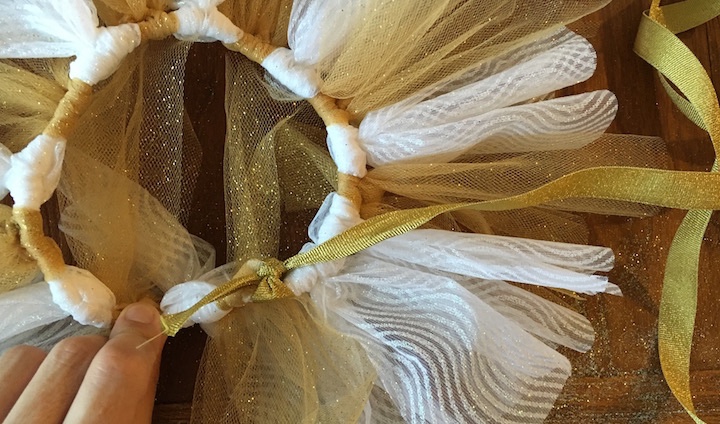
- With my green tutu, I wanted to add a ribbon. So I took some ribbon and tied it into a bow and used my hot glue gun to secure it to the front of the tutu. You can do this with gems, craft flowers, or whatever you please. Your imagination is your only limitation! You can also create a ribbon waisted tutu by using soft (satin) ribbon and threading it over and between each piece of tulle, then securing with the hot glue gun on the ends. The ribbon I used for this gold and white tutu was pretty stiff so it didn’t do a great job of covering the tulle knots but you can imagine how nice it would be if it were satin

